Set up Spider in 10 minutes
The recommended order to go from a freshly invited bot to a protected, organised server, without missing anything.
 Spider team2 min read
You just added Spider and the dashboard shows dozens of settings. Where to start? Here’s the path we recommend, in order. Allow about ten minutes.
1. Place Spider’s role
In your Discord server settings, open Roles and place Spider above the roles it will assign and the members it will moderate. It’s the number one cause of refused actions.
2. Run Quick setup
In Settings › General, the “Set up Spider in a few steps” section prepares automoderation, moderation logs, anti-raid, sanctions, verification and a ticket panel at once, based on a pack (community, gaming, creator…). Nothing is applied before the summary screen, and a button lets you restore the previous settings.
3. Create a group for your team
In Settings › Groups, create at least one “Moderation” group linked to your moderators’ role, and tick only what it needs. Your moderators will then only see their pages in the menu.
4. Check the essential modules
Go back to Home: the “What’s left to set up” section lists what’s still missing. Enable, in this order:
- Logs (Events then Moderation)
- Automoderation
- Sanctions
- Captchas
- Anti-raid
5. Test with a regular account
With a secondary account without staff roles: pass verification, open a ticket, send a forbidden message. Then check that everything shows up in Moderation › Logs and in Infractions.
Full guide in the documentationAdd Spider and set up your server
Try it on your server
Spider is free to add. Set it up in a few minutes from the dashboard.
Keep reading
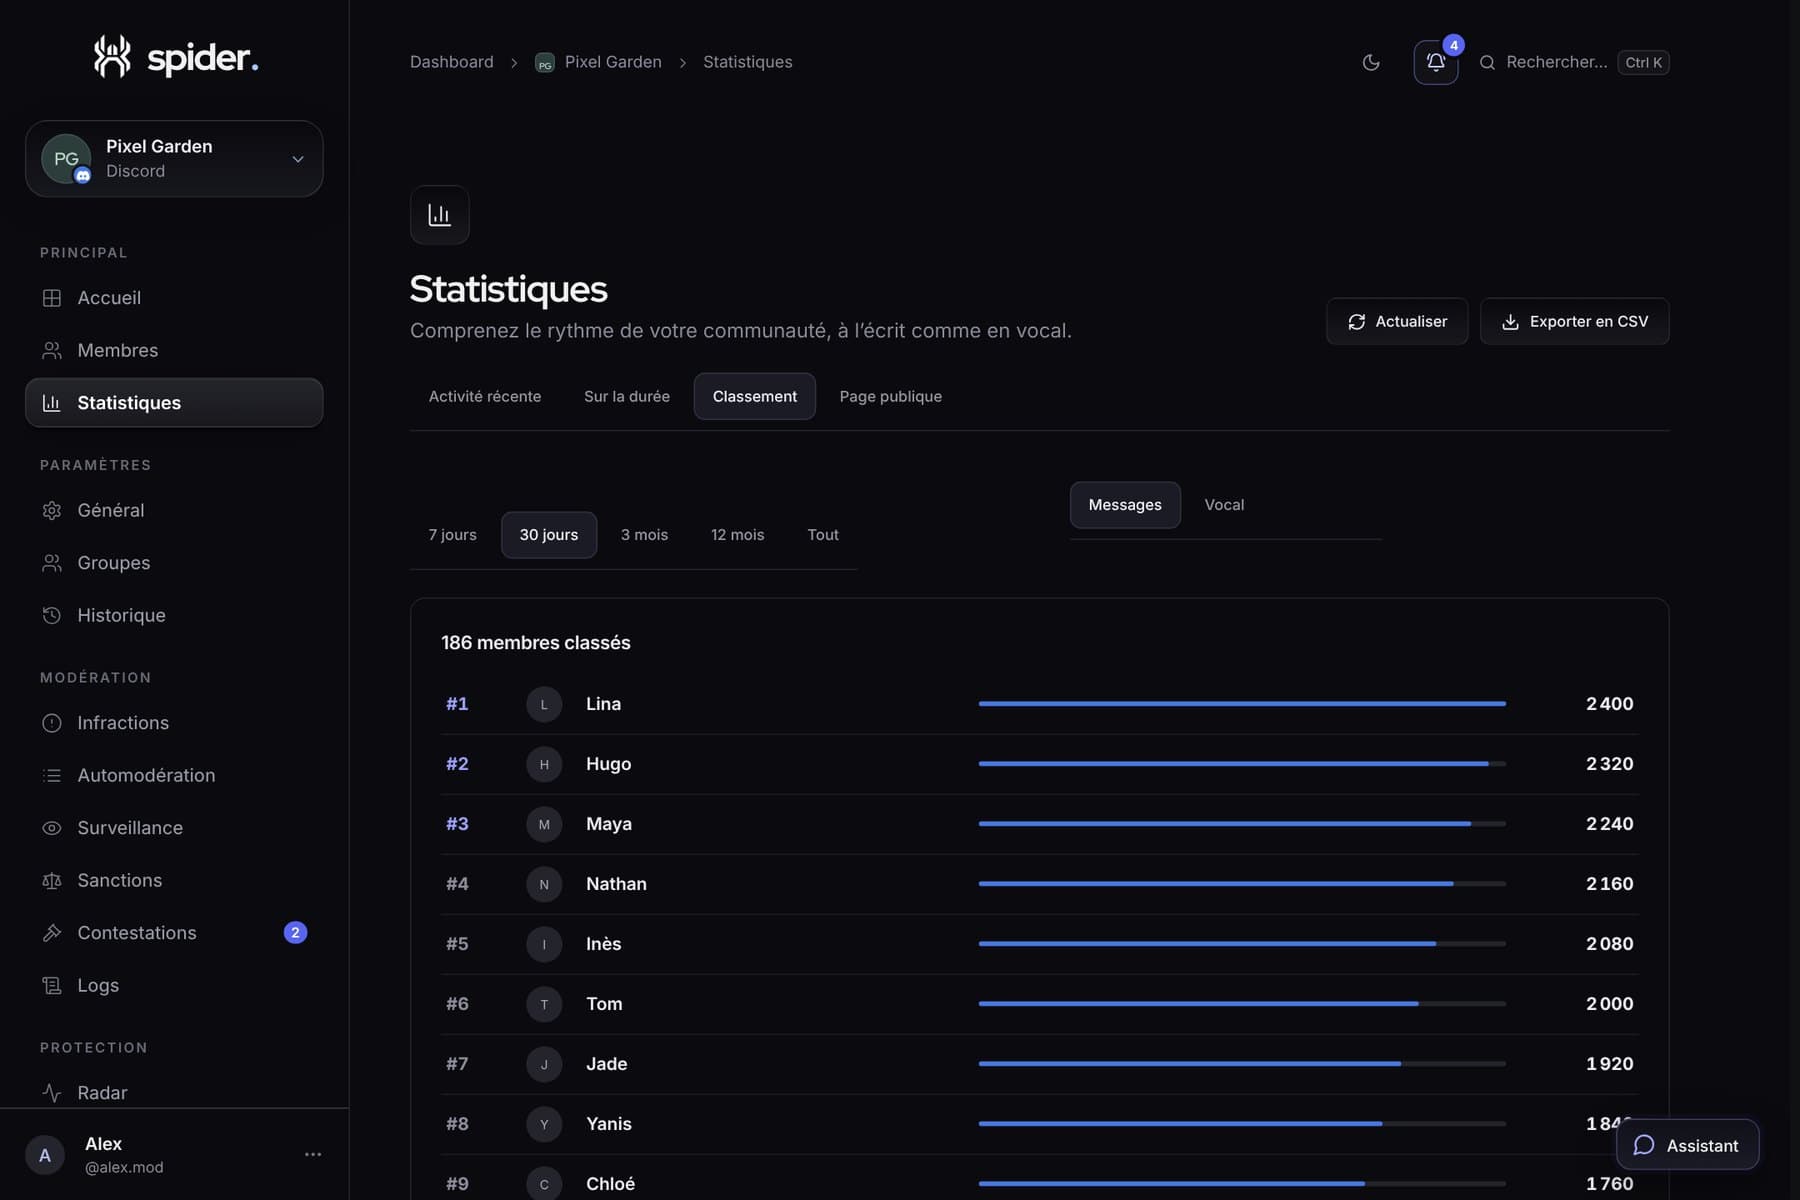 GuidesBringing your server to life with its statisticsWhen to run an event, which channel to close, who to thank: five concrete decisions to make with Spider’s numbers.
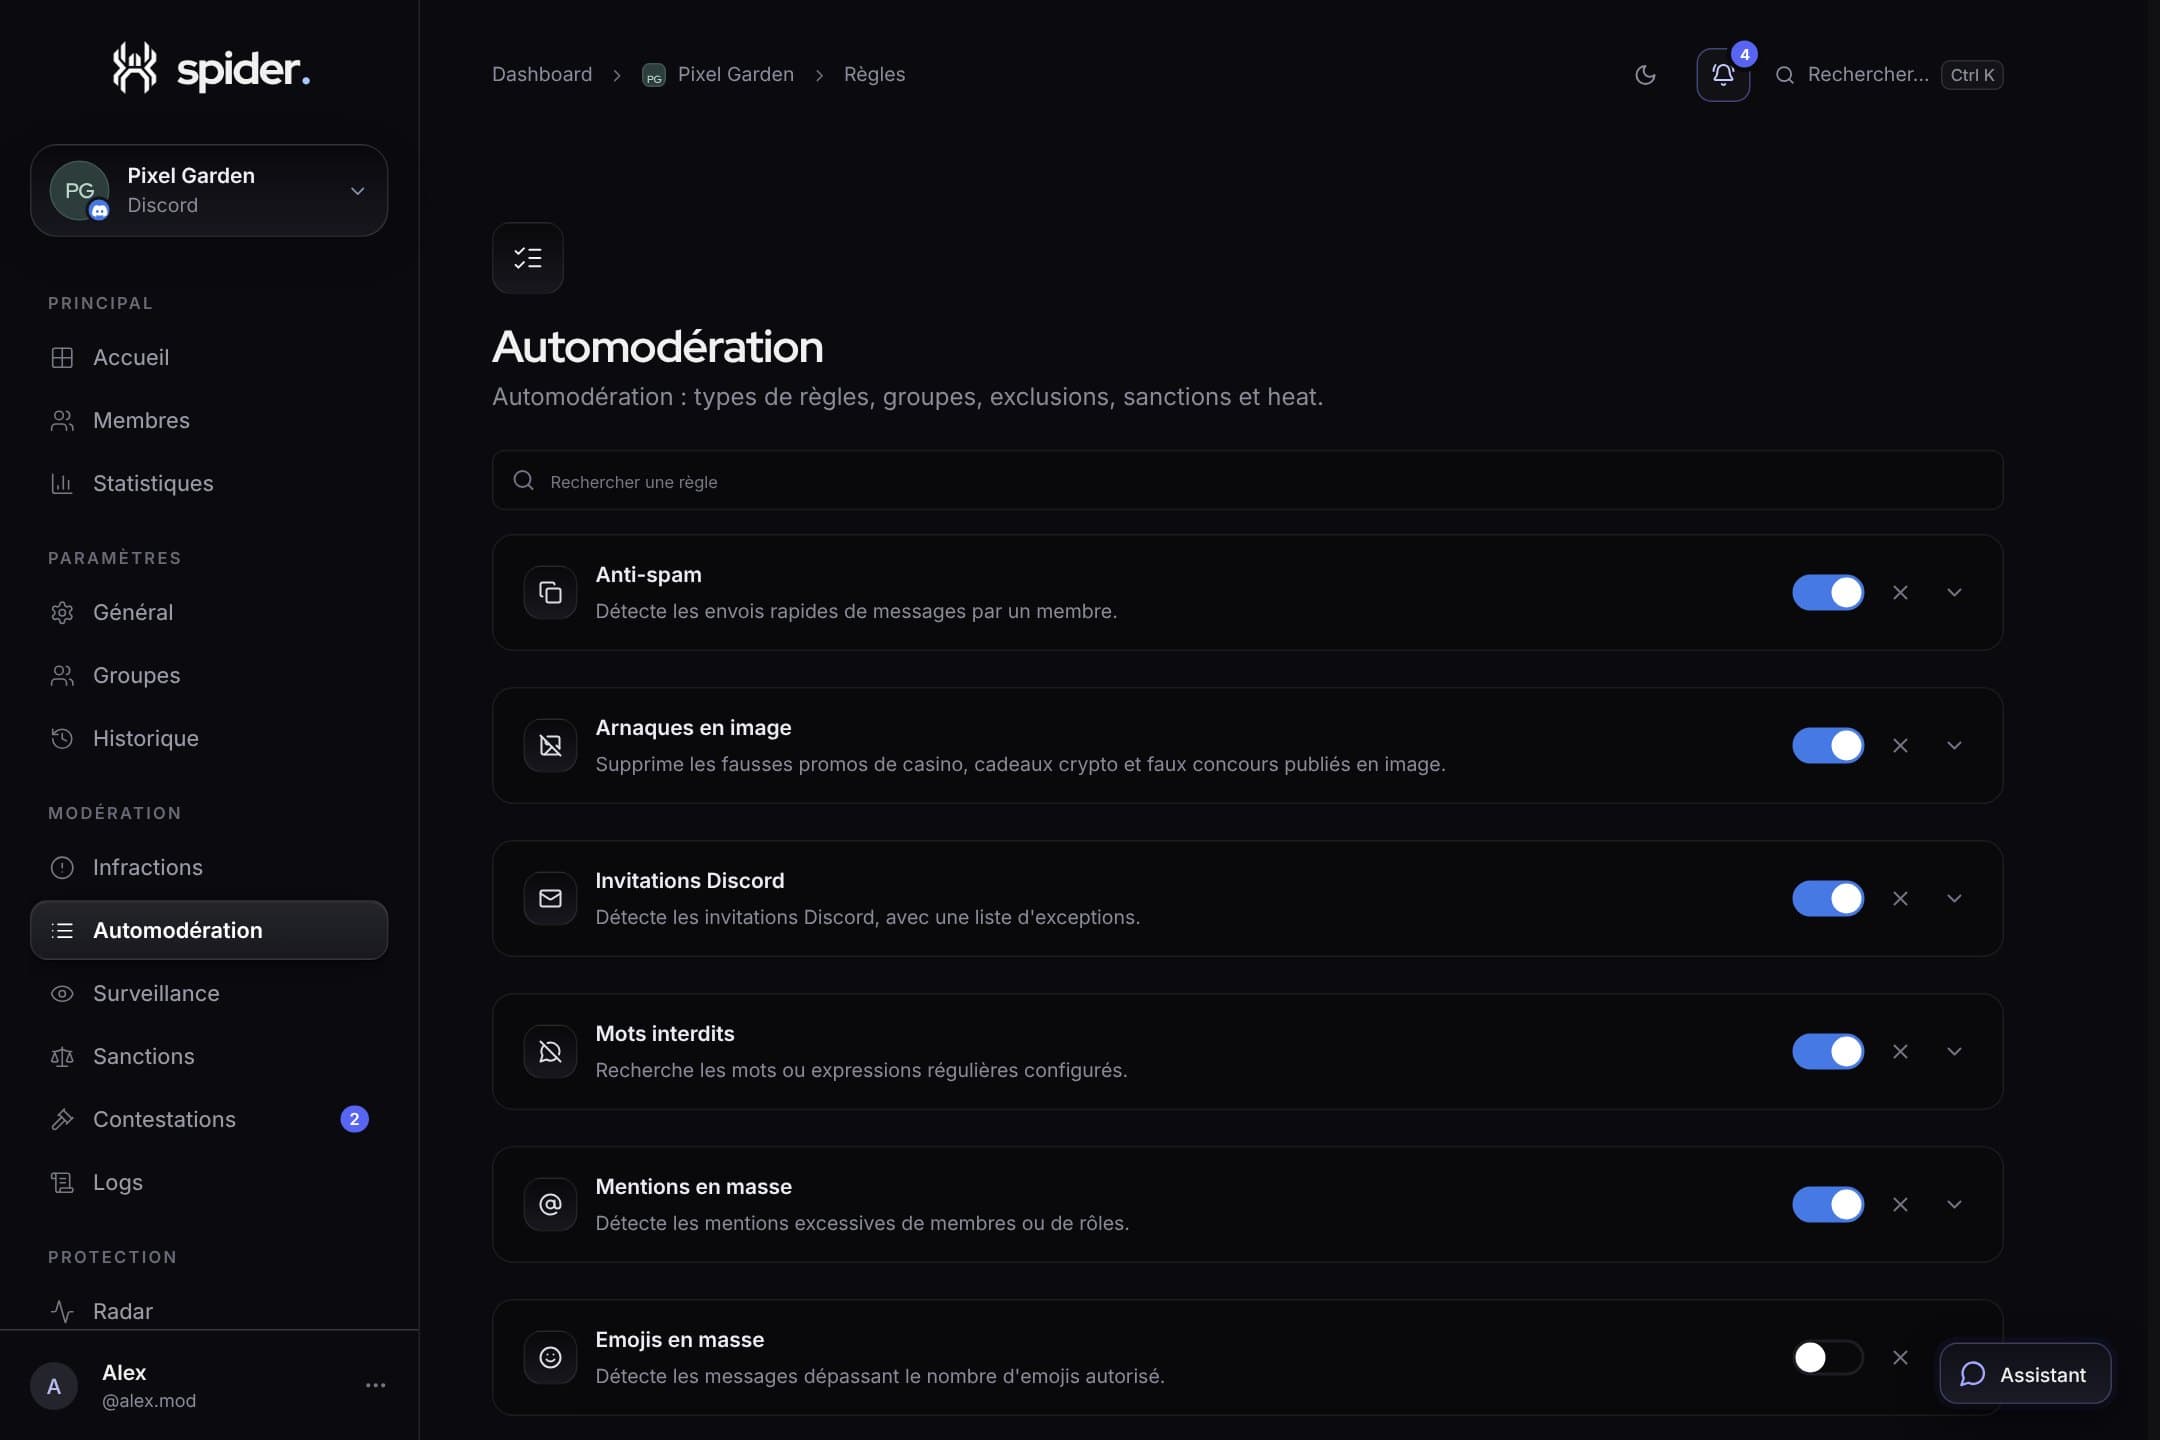 GuidesStrict automoderation without false positivesThresholds, exclusions, heat mode and alerts: the settings that make the difference between a bot that protects and a bot that annoys.
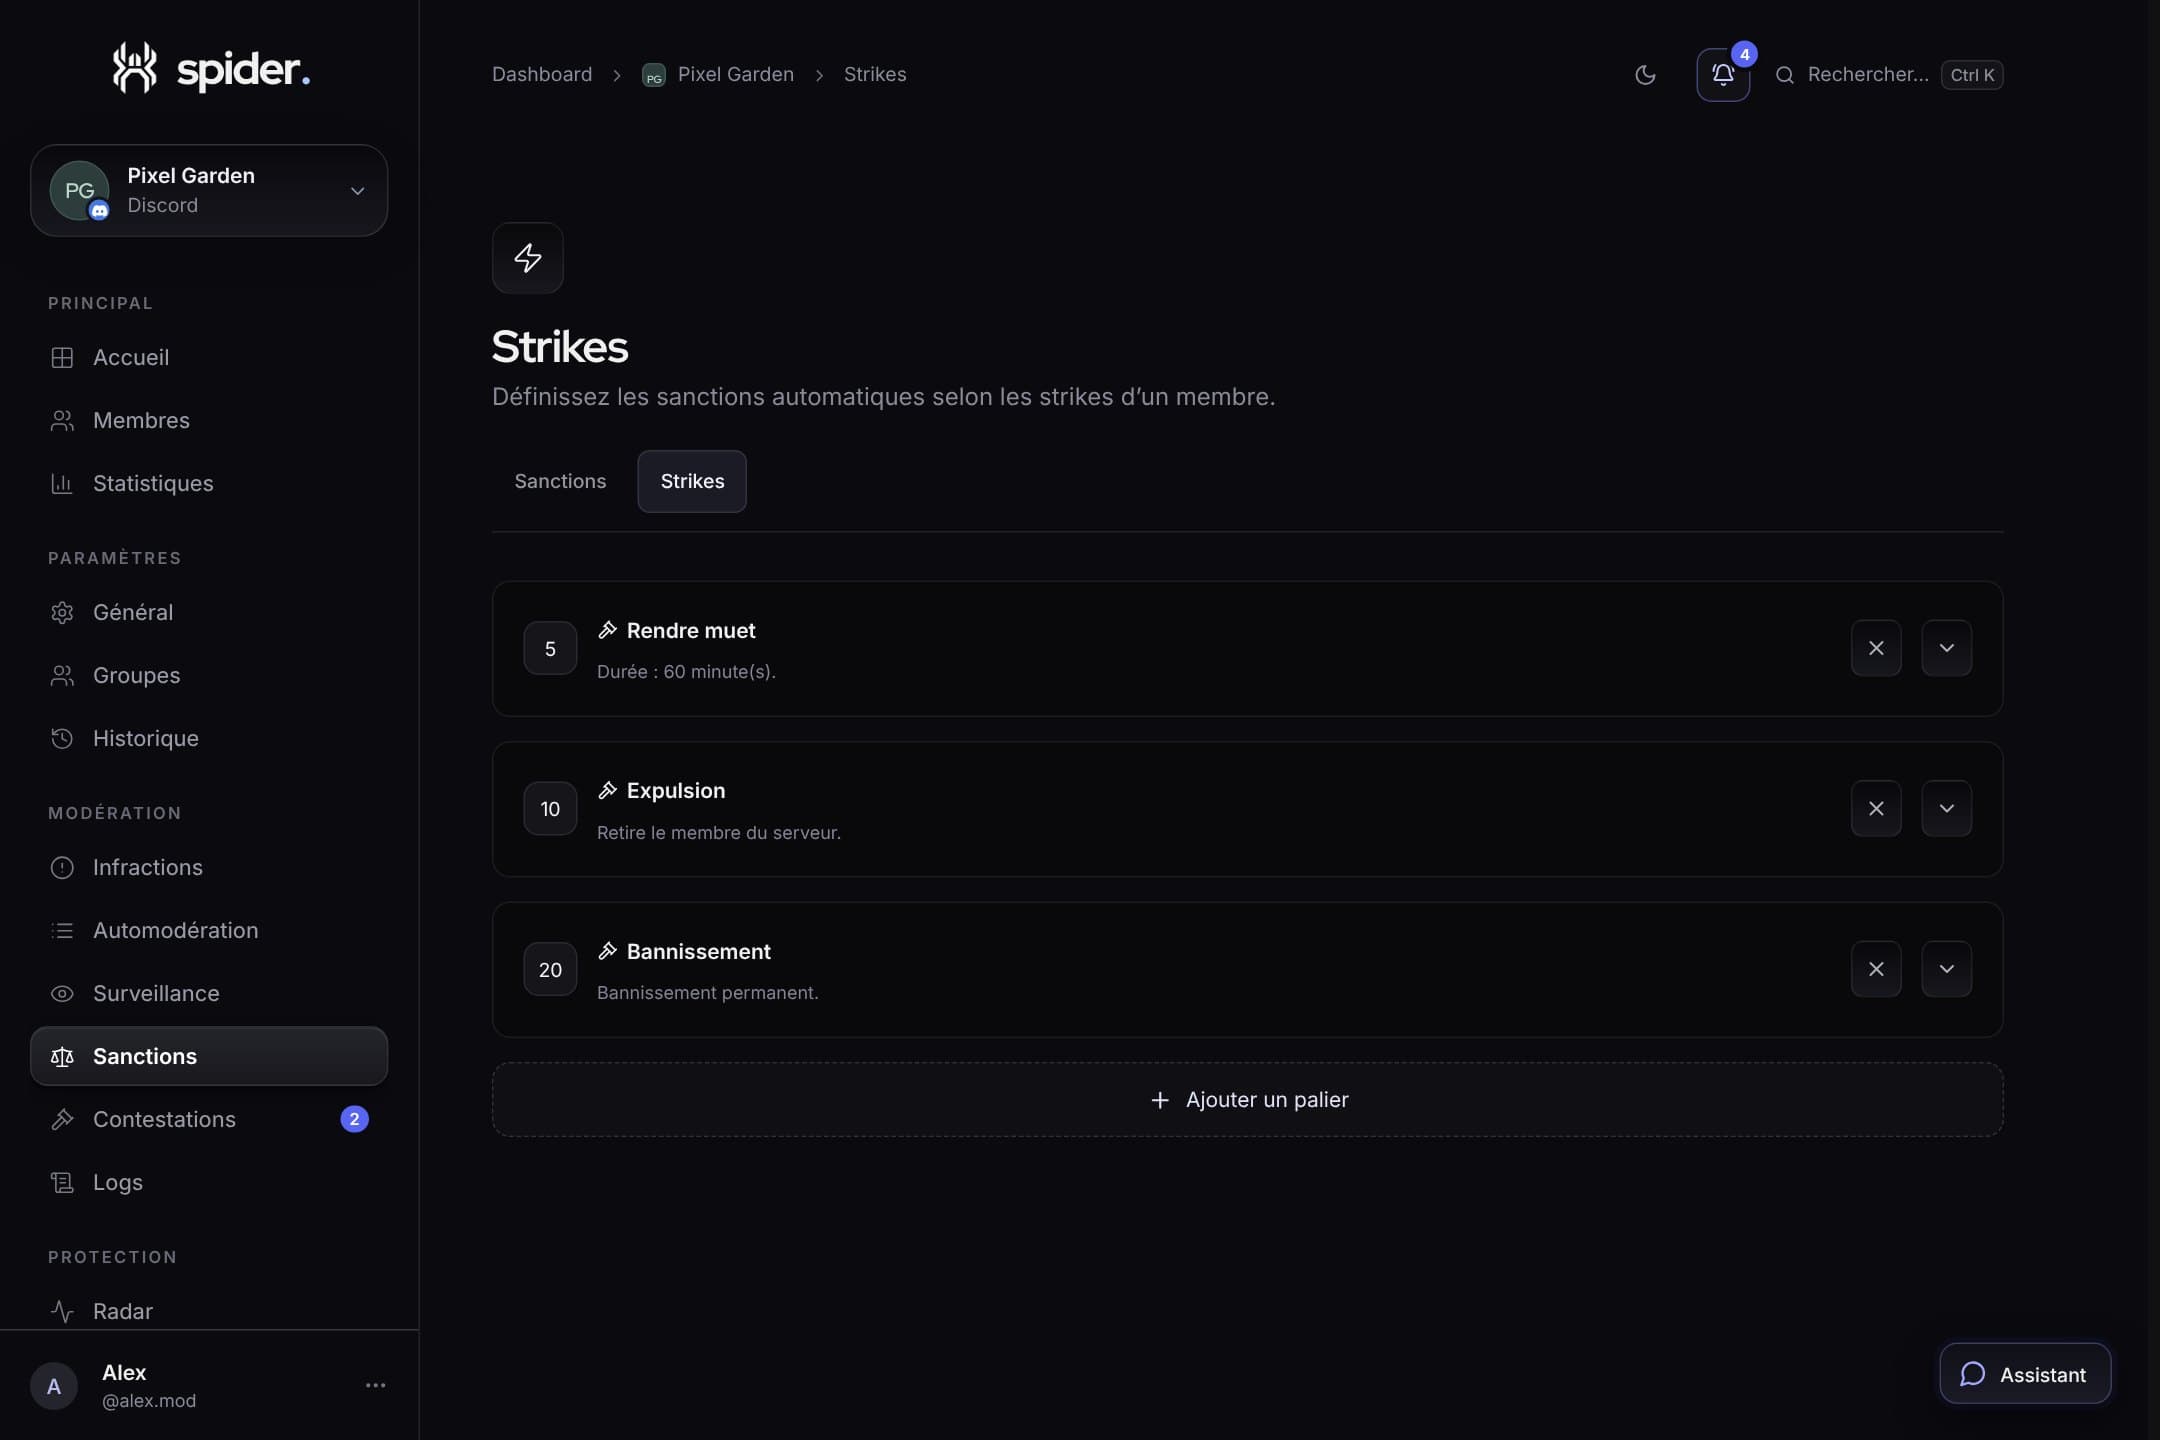 GuidesProgressive sanctions: warnings, tiers and strikesHow to build a clear sanction ladder, applied automatically and identically by your whole team.